The modern era of remote work has transformed digital communication into an everyday necessity, yet achieving a professional appearance through a webcam remains a subtle challenge. As video conferencing platforms evolve, expectations for image quality continue to rise, making even modest setups scrutinized during virtual meetings.
As hybrid schedules solidify, the distinction between a casual and polished presence hinges on technical choices that many overlook until an important call exposes shortcomings. If you want to know how I fixed my webcam lighting for professional settings, it starts with addressing environmental factors rather than just buying expensive gear.
Understanding the Root Causes of Poor Webcam Lighting
A significant number of home offices suffer from unbalanced illumination, where windows create harsh backlighting while ambient room lighting fails to illuminate faces adequately. This mismatch leads to washed-out highlights, shadowed features, and distracting backgrounds.
Two primary factors drive these issues:
- Natural light management: Direct sunlight striking the subject produces glare and a loss of fine detail.
- Ambient light imbalance: Uneven room lighting causes uneven exposure across facial features and background elements.
Recognizing these patterns is the first step toward targeted improvements. Instead of relying solely on higher-end equipment, focus on managing how light hits your face.
Practical Solutions for Immediate Improvement
Simple adjustments to your physical setup and affordable accessories often yield dramatic results without extensive investment. If you are searching for how I fixed my webcam lighting on a budget, these proven approaches work across a range of environments:
- Reposition desks relative to windows to avoid harsh backlighting.
- Clip budget-friendly LED panels or desk lamps to your monitor to reduce contrast ratios.
- Use existing webcams in tandem with supplemental lighting to maximize natural advantages.
- Invest strategically in both hardware and illumination rather than choosing one over the other.
Each solution addresses core problems while remaining realistic for temporary or space-constrained settings.
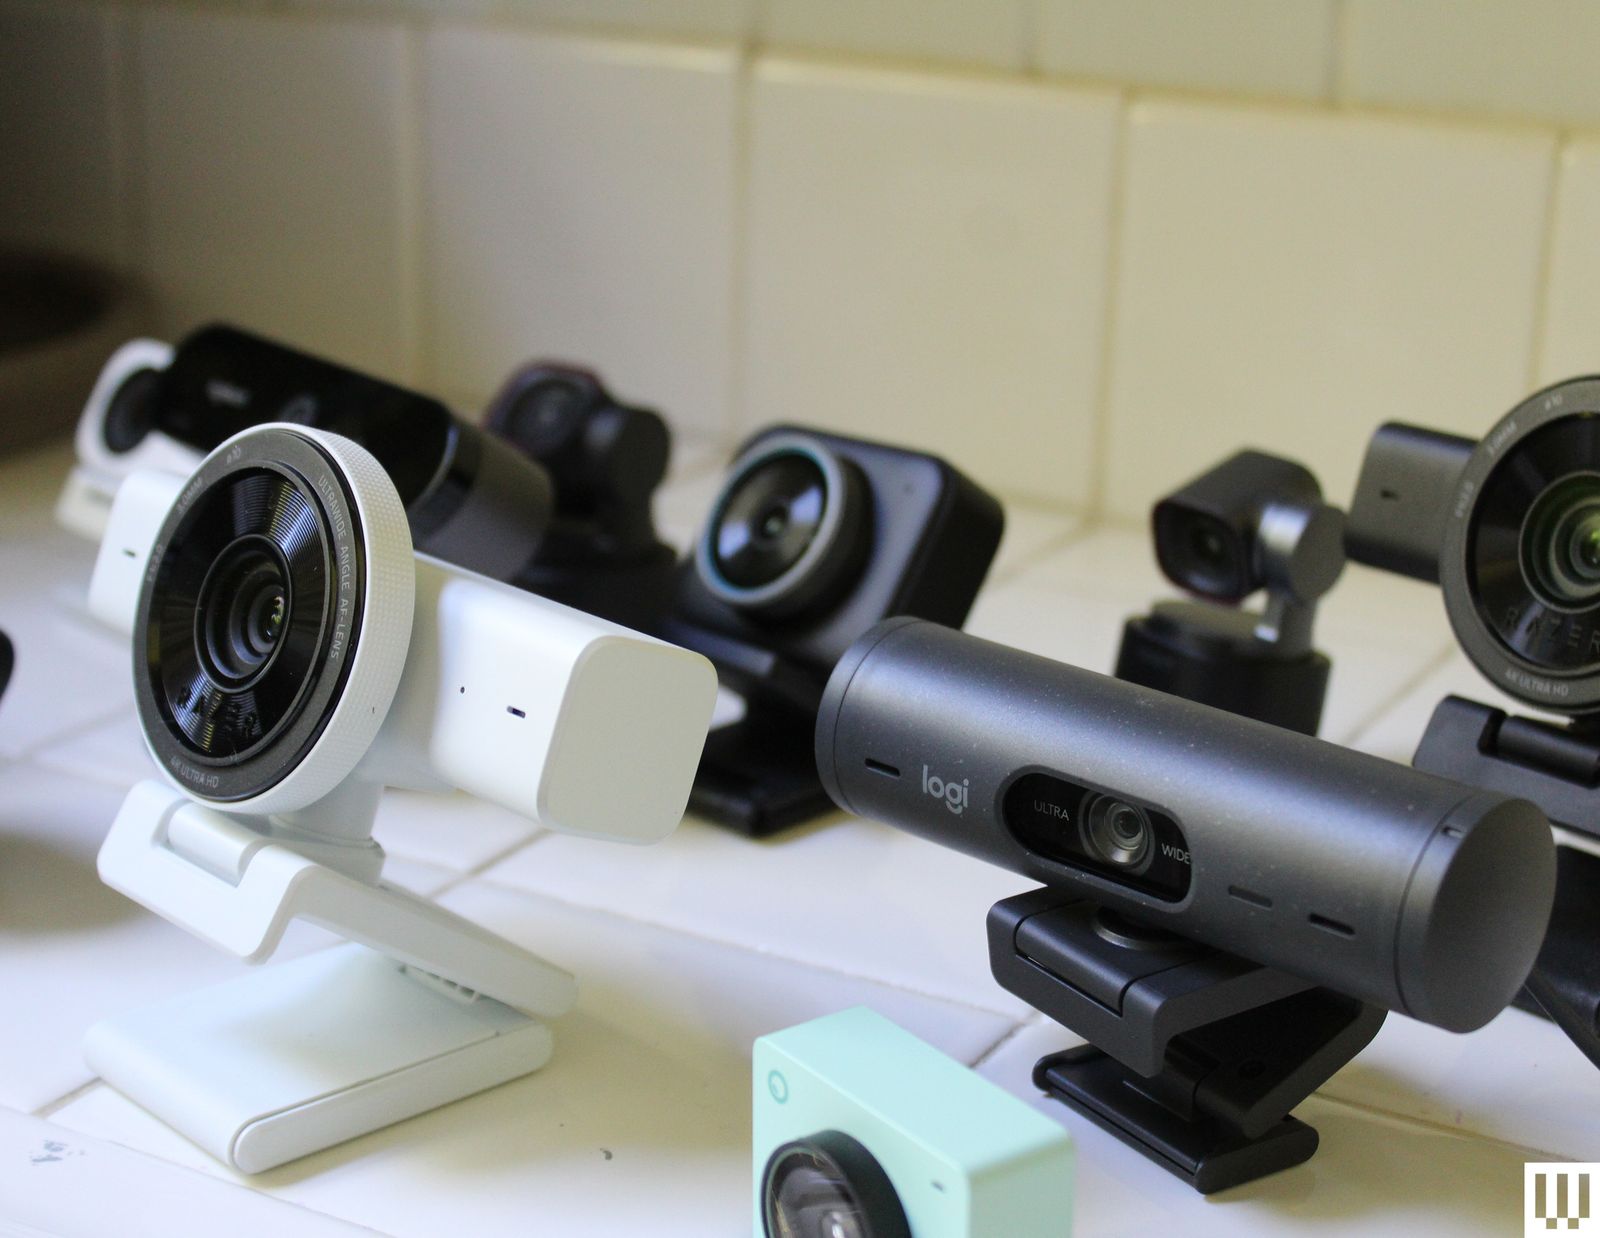
Selecting and Integrating New Hardware
When upgrading equipment, balancing cost, performance, and compatibility ensures long-term satisfaction. When looking at how I fixed my webcam lighting through hardware upgrades, you should consider sensor size, aperture control, and integration with existing peripherals:
- Larger image sensors handle dynamic range better under challenging lighting conditions.
- Adjustable apertures allow for fine-tuning of the depth of field.
- USB-powered lights provide flexibility without requiring permanent installation.
Choosing models like the Insta360 Link 2C Pro alongside a modest LED strip balances quality and affordability, delivering a professional appearance without unnecessary complexity.
Long-Term Strategies for Consistent Presentation Quality
Sustainable success requires planning beyond single purchases or one-off adjustments. Establishing routines around lighting checks, camera cleaning, and workspace organization sustains visual standards across varied schedules:
- Schedule brief daily assessments before critical meetings to check your exposure.
- Maintain consistent placement of lights and cameras to preserve image stability.
- Keep lenses free from smudges and dust to ensure maximum clarity.
By rethinking lighting dynamics, pairing appropriate hardware, and embedding maintenance practices, you can achieve polished results that project confidence and competence regardless of your physical constraints.