Starting Subnautica 2 with just 20 inventory slots and five hotbar spaces is a harsh reality check. You will fill this limited capacity in a matter of minutes, forcing you to juggle storage chests and scour every nook and cranny of the ocean floor to stow your loot. Consequently, figuring out how to increase inventory size becomes a critical early-game priority.
The good news is that you can permanently expand both your inventory and hotbar space. However, this requires actively seeking out specific colony outposts and hidden biobeds rather than just exploring randomly. While you are on the hunt for these upgrades, it is also highly recommended to prioritize building the Wakemaker and securing O2 upgrades to survive the depths more comfortably.
Locating Biobed Terminals for Upgrades
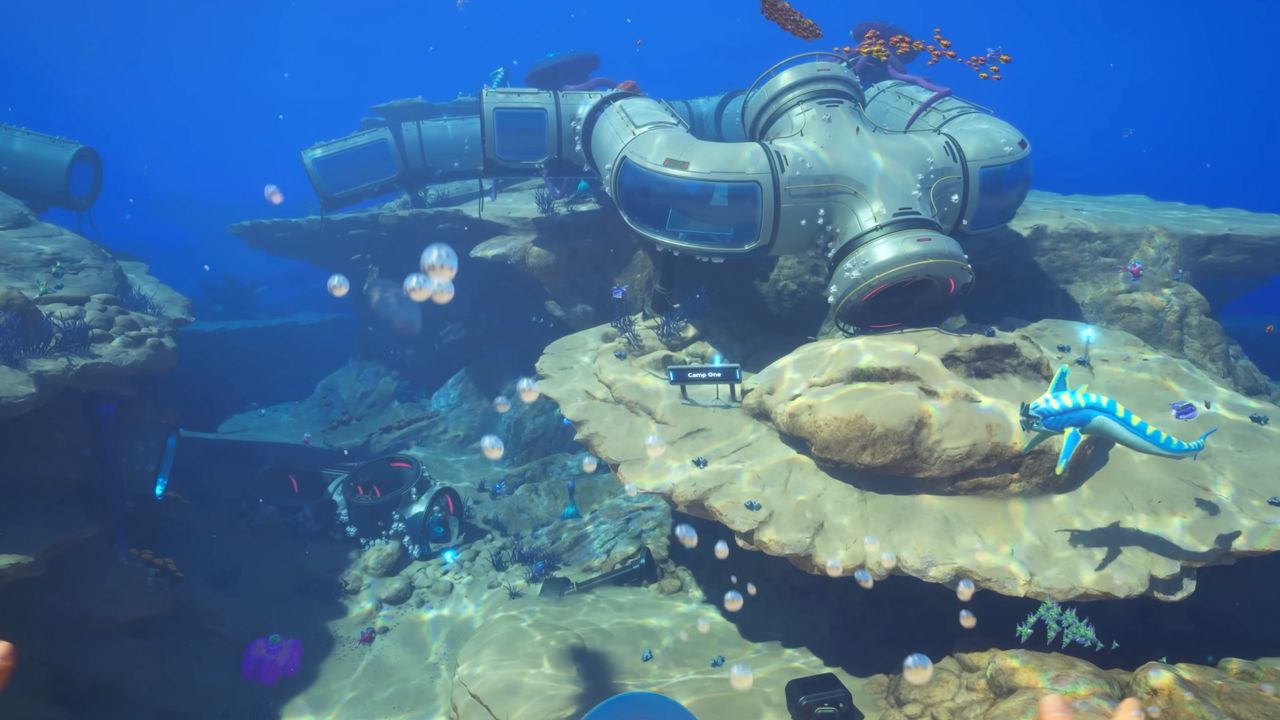
The primary method to boost your capacity is by interacting with the terminal located next to Biobeds inside colony outposts. These blue-glowing structures are your best indicators; if you spot a blue lightstick in the water, investigate the area immediately, as there is likely a habitable structure nearby containing a Biobed, a scannable tool, or other valuable items.
Additionally, black boxes sent to you by NOA often lead directly to locations containing Biobeds.
Biobeds are typically used to reset your spawn point, but the computer terminal attached to the closed bed provides a permanent upgrade the first time you interact with it. These upgrades come in two specific forms:
- Endurance: Boosts your general inventory space.
- Dexterity: Increases your hotbar space for quicker access to tools.
Because these beds are often in closed or hard-to-reach areas, they are easy to overlook during a standard sweep. Pay close attention to the map markers for colony outposts to find them efficiently.
Early-Game Upgrade Locations
To help you optimize your early exploration, here are specific coordinates for some of the first inventory upgrades I have identified relative to the Lifepod:
- Endurance Upgrade: Located inside Chap’s base within a small cave. This is roughly 220 meters southeast and 40 meters deep from the Lifepod. Look for the entrance at the base of a stone pillar.
- Endurance Upgrade: Found at Anita’s Garden outpost. This is 170 meters northeast and 38 meters deep. To reach it, use the current 110 meters northeast of the Lifepod to enter the cave, then travel northeast through small cave tunnels following the lightsticks.
- Dexterity Upgrade: Located inside a small outpost marked by green slime on the ground. This is approximately 200 meters north of the Lifepod and 86 meters deep.
- Endurance Upgrade: Found in a habitat built into a cliff wall near a ruined colony building. This is 255 meters southwest of the Lifepod, also at 86 meters deep.
Managing Inventory with Portable Lockers
While permanent upgrades are essential, smart packing is equally vital for survival. My best tip for managing your capacity is to pack light. You rarely need more than a spare battery, a snack, and a drink on a short expedition.
Instead of carrying everything, bring a Portable Locker with you when mining or collecting materials. You can stash excess items inside these chests and haul them back to your base.
Notably, there is a Portable Locker inside the cave directly beneath the Lifepod. This item appears to respawn periodically, allowing you to acquire multiple lockers early in the game. This is a game-changer for efficiency.
For later-game progression, keep an eye out for the haulage module for your Tadpole vehicle. This upgrade likely allows you to stow materials directly in the vehicle, though full unlocking may come later in your journey.